
What would it take to better your iPhone photography skills? Here I outline five levels, depending on how much experience people have. It is somewhat arbitrary, I have just grouped these in a way that makes sense to me and what I have learned. This may provide a few tips on what to look at next to gain more knowledge and hopefully put that to good use.
I have added some bonus sections in later levels if you want to give yourself extra credit for broadening your experience if you don't know them already.
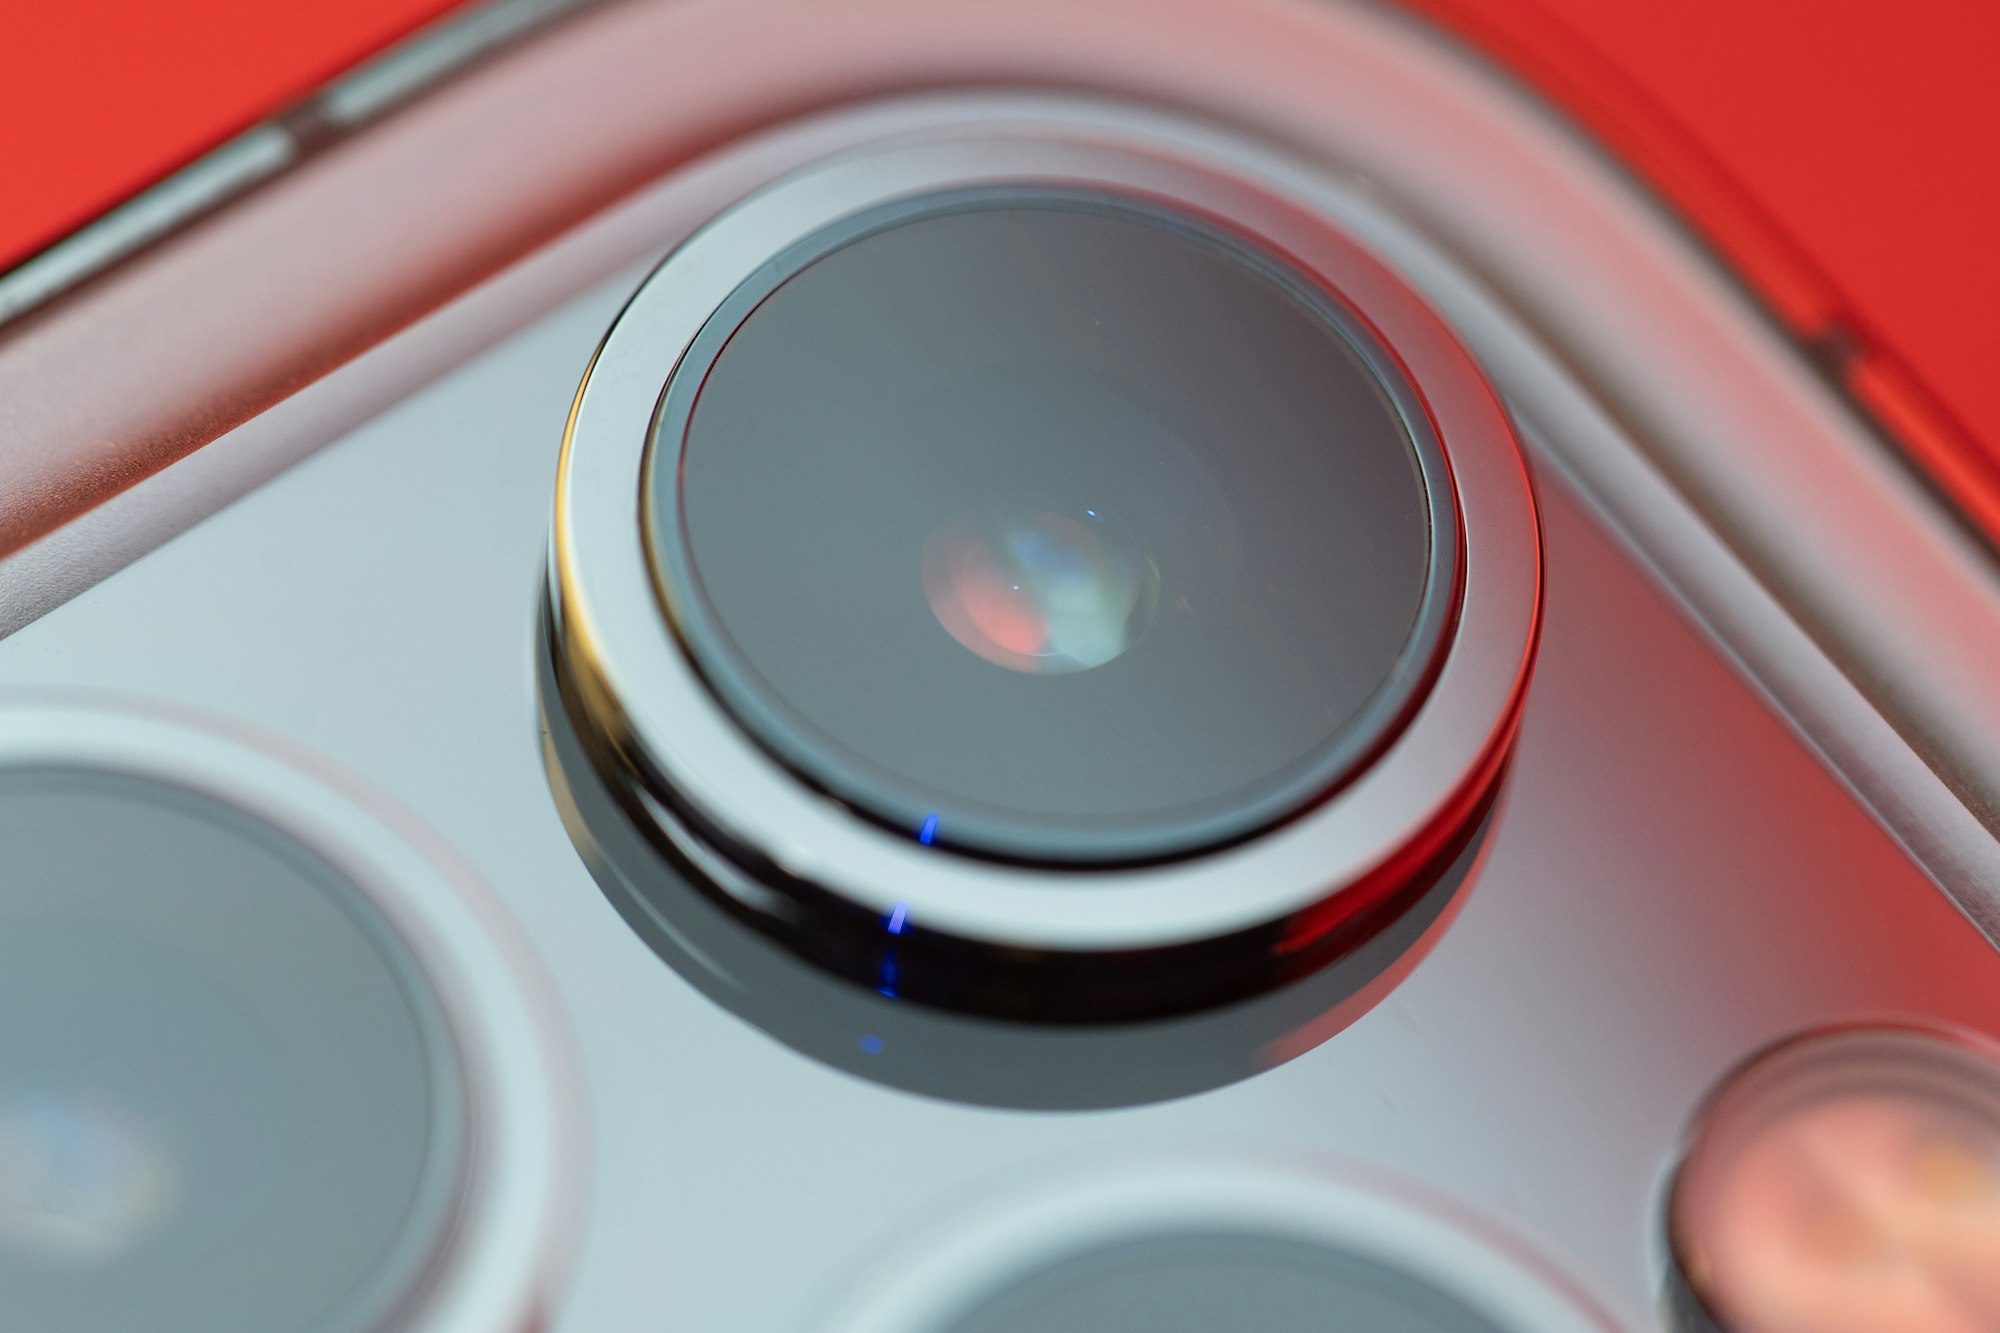
Some features mentioned below will vary by model and may only appear on newer devices.
Level 1 – Novice
New iPhone user or someone not previously interested in photography but now beginning to take photos and wanting to know how to get better results. We all have to start somewhere, if you are new to the iPhone or have only more recently become interested in photography, this is probably where you are!
How do I know if I am at this level? I have a basic understanding of the Camera app and know how the Photos app works, where it stores my photos and how I find them when needed.
To progress to the next stage you will want to continue to take more photos and start to get a better feel for what the iPhone can do, being inquisitive on how it all fits together, taking photos, viewing them and what more you could do.
Level 2 – Advanced Beginner
Exploring the built-in features of the iPhone to take more dynamic photos and edit images.
How do I know if I am at this level? I have tried different aspects of the Camera app, I know what a Live Photo is, I know what Portrait Mode is, I have edited some of my photos, I can crop a photo, I know how to create an album to organise images and I know what iCloud Photos is used for.
By now you have a better appreciation of how well the iPhone camera works and some of the options to edit photos but you are still trying out the different features and will continue to do so to move on to the next stage, which is a big step up.
Level 3 – Competent
Familiar with most of the built-in features and beginning to want more control over what my photos look like.
How do I know if I am at this level? I know how to put the grid option on the Camera for composition, I have used Night and Burst Modes, I know how to discard photo edits and revert to the original, I understand some of the different edit options and not just auto mode, in the camera app I know how to access additional options such as aspect ratio and exposure, I know how to get additional information about individual photos like where they were taken or what camera was used, I know the difference between wide, ultra-wide and telephoto.
Bonus points: Using Live Photos with Loop, Bounce or Long Exposure effects and also use the Duplicate photo option plus being aware of what Portrait Lighting can do.
Now we are cooking, you have tried most of the features the Camera app has, with a good understanding of the Photos app and iCloud Photos, you have grasped how to access additional features when taking and editing photos but you want more, that you can only get from other apps before you move to the next stage.
Level 4 – Proficient
Using camera and photo editing apps on the App Store.
How do I know if I am at this level? I have used different camera and photo editing apps to better develop my photography and artistic skills, I have explored some of the extra features that other camera apps have, I have used a photo editor that gives greater control over my photos.
Bonus points: Taking an interest in notable app updates which bring new features, being on the lookout for new apps and checking out the occasional blog or other updates from an app developer or elsewhere. It's always worth going basic to basics too and learning fundamental photography techniques, brushing up on things like the Rule of Thirds and how to apply that on iPhones.
Recommended apps to check out: Halide, Camera+ 2, VSCO, Snapseed, Pixlr, Pixelmator Photo, Darkroom, RNI Films, Afterlight.
Bonus apps to look at: Distressed FX, LD - Cinematic Content Editor, Mextures, Nception, TouchRetouch.
This is where the real fun begins, the options are only limited by your own imagination, by now you may have dabbled in black and white photography, film emulation or vintage-inspired filters, use manual or macro mode when taking photos, tried abstract photo apps, and the list goes on. You’ll eventually want to settle on a few key apps that best work for you, as these apps often aren’t free and have an ongoing cost.
The level is the pinnacle for most people, they feel confident they know how to use their camera, how to edit photos to get the desired look, there is very little holding them back technically and they continue to explore photography in different ways and make it their own. The only reason to get to the next stage is if you want access to the full capabilities of your camera and what it can do, but without some extra work, this can actually sometimes make your photos worse, so it is not for everyone.
Level 5 – Enthusiast
Develop more advanced camera and photo editing skills.
How do I know if I am at this level? I know what RAW and ProRAW photography are, I have taken some RAW photos and edited them, I know when to use and not use RAW, I know how to use a histogram either taking a shot or when editing a photo. I take more photos than I really need to for a given subject!
Bonus points: Know the difference between JPG, HEIC and DNG. Try shooting in 16:9.
Recommended apps to check out (some iPad only): Affinity Photo, Lightroom, Photoshop, RAW Power.
You don’t have to be a geek to get to this stage, the mechanics aren’t necessarily complicated, it can just be a few extra options, here and there but it helps to spend some extra time if you are getting into RAW photography, it’s especially attractive if you have an iPhone Pro/Max 12 or 13, as then it’s built-in to those models, you don’t even need any extra apps. If you don’t have one of these iPhones, you will need another app like Halide to take RAW photos. RAW photos take much more space on the device and on iCloud Photos, so that's also worth considering.
Bringing it all together
This is of course just some fun, it's an informal guide on how well you might know the photography features on the iPhone. None of that is to say people at different levels as I have described them, take better photos than anyone else, whether a beginner or an enthusiast, but it will help by having a better grasp on the different ways to take photos, to edit and showcase them.
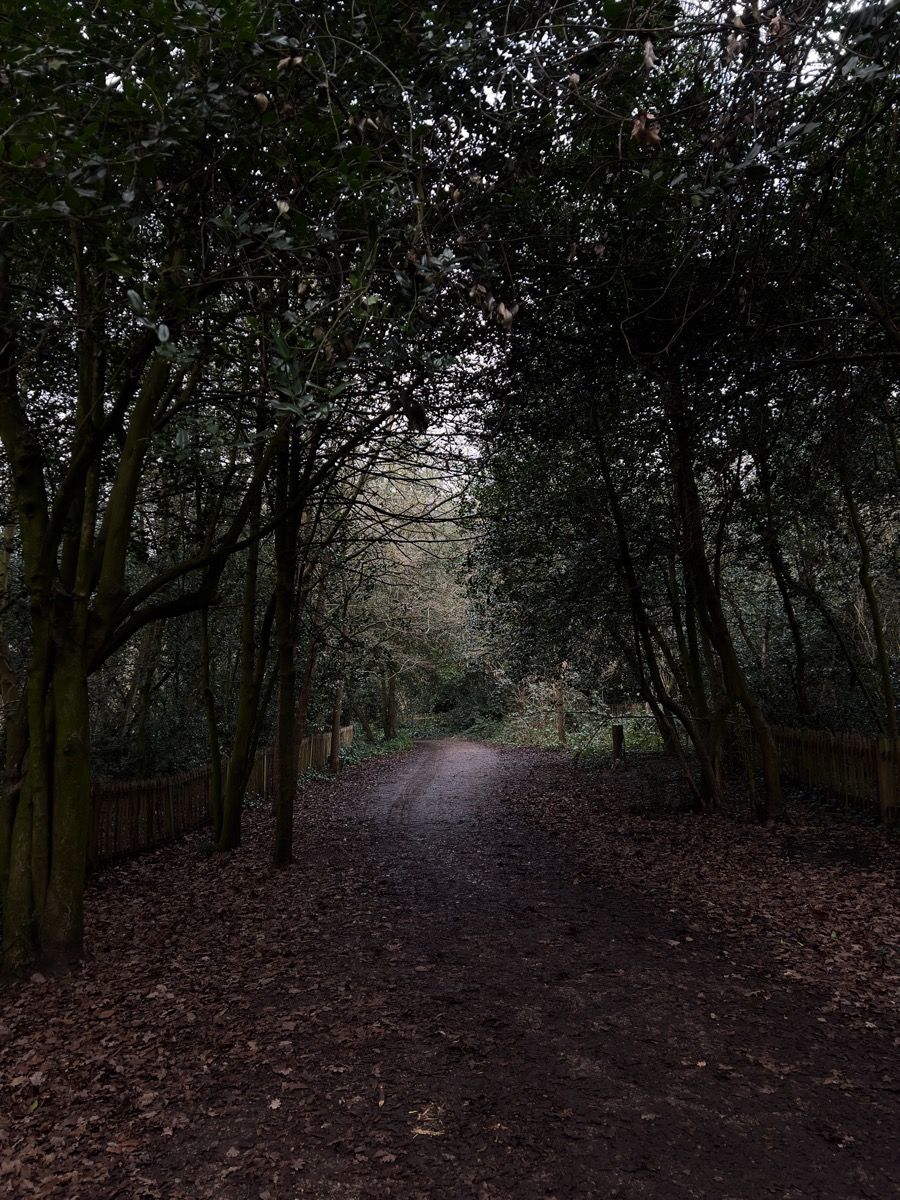
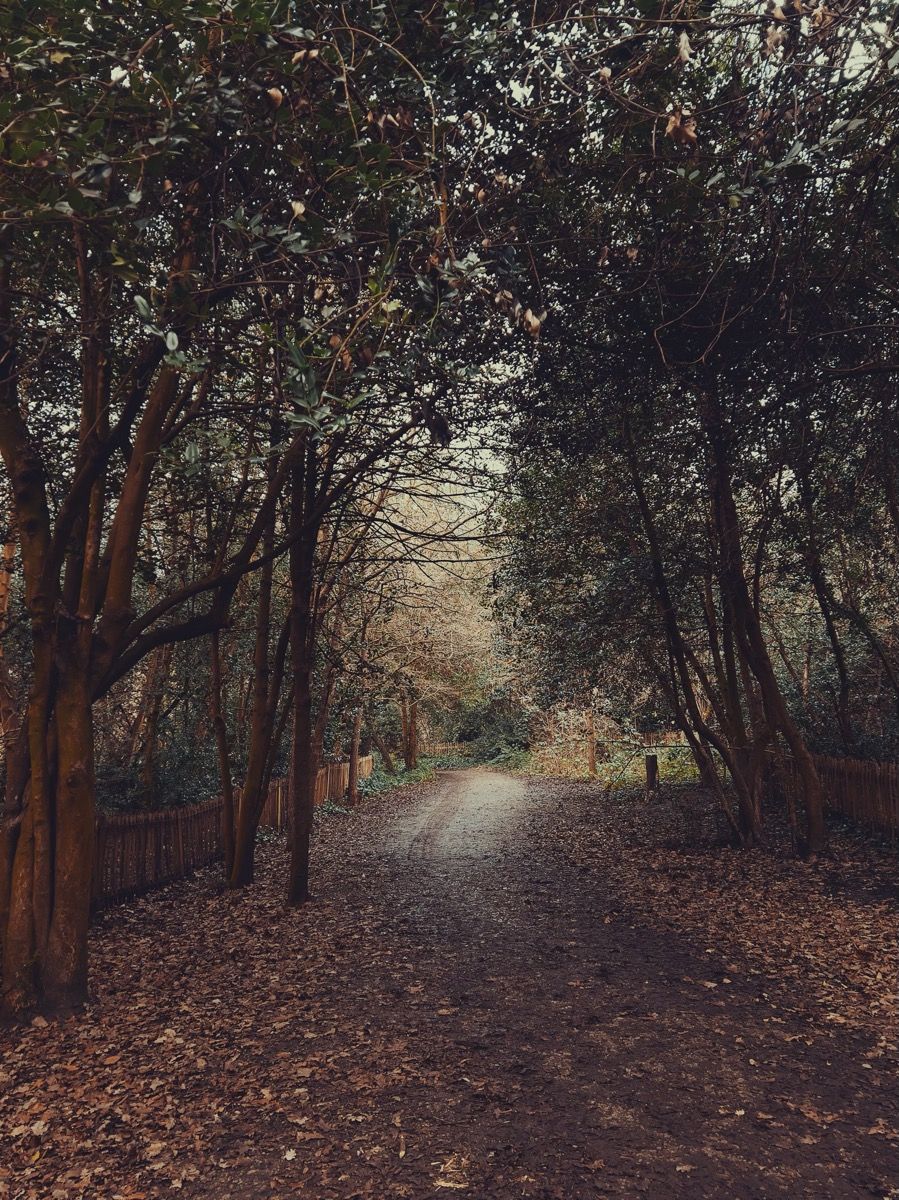
It seemed silly not to show an example, a before and after, the before being a ProRAW shot, so it was naturally quite dark and I may have lowered the exposure further and the processed image, which was developed in Pixelmator Photo, with just a few steps.
If you got this far, I hoped you liked this post, it may be useful for me as I can consider what future articles I write and who to aim for them. I'd love it if you could subscribe to the site, which is free, as I develop more content, no spam of course and you can unsubscribe at any time, check your 'Junk' email folder if you do subscribe, as you'll need to confirm your membership.
That's it for now, happy shooting on your iPhone!