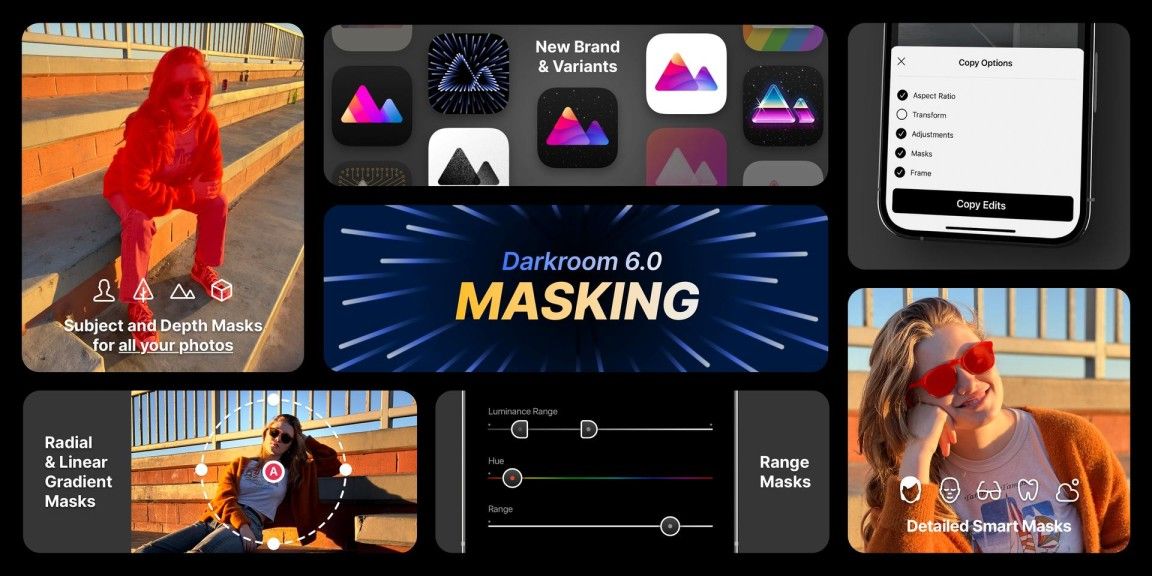

I was excited to see the latest Darkroom update released, with a major new feature, masking now available. Here is a quick review, I am still learning how to use masking and just as importantly when to use it, so these are my initial impressions, with more to come.
Darkroom has been talking about this new version for weeks, without saying exactly what was new, unless you were a beta tester, as a way of building hype and they didn’t disappoint with the 6.0 update when it was released on 12th April.
Taking a step back, first what is Darkroom? If you haven’t come across it before, Darkroom is a photo (and video) editor, available on iPhones, iPad and Mac. Darkroom is a very good premium photo editor for mobile photography, I’d class it alongside Pixelmator Photo in quality with great all-round features.
Unlike Pixelmator Photo though, Darkroom is free to try, from what I gather but a subscription is required to access all features across iPhone, iPad and Mac. Darkroom prior to February 2020, when subscriptions were introduced, you could buy all the filters and the additional features with a one-time purchase of £9.99, which is what I did years ago.

This changed this month, masking was behind another paywall, to be fair when subscriptions were introduced, Darkroom granted free upgrades for users that had spent money on the app before, what they didn’t say at the time was that this would eventually run out. Legacy customers like myself would have to spend more money to get masking and any more new features, which is exactly what I ended up doing, going for a one-time purchase (again), £44.99 later, which is more than I wanted to spend but did it anyway on a whim and to support the developer, I then had masking unlocked. As far as I can tell, this has since gone up to £64.99. Ouch!

Back to masking, with masking, you can make local adjustments, which means you can change parts of the photo without affecting the rest of the image. At its simplest, you can pick a part of the photo with a mask, and make adjustments like increase/decrease brightness, highlights or contrast, which are limited to only the area you selected. This provides much more control which I have found already, can completely change how you edit a photo. Darkroom’s implementation is very slick, offering:
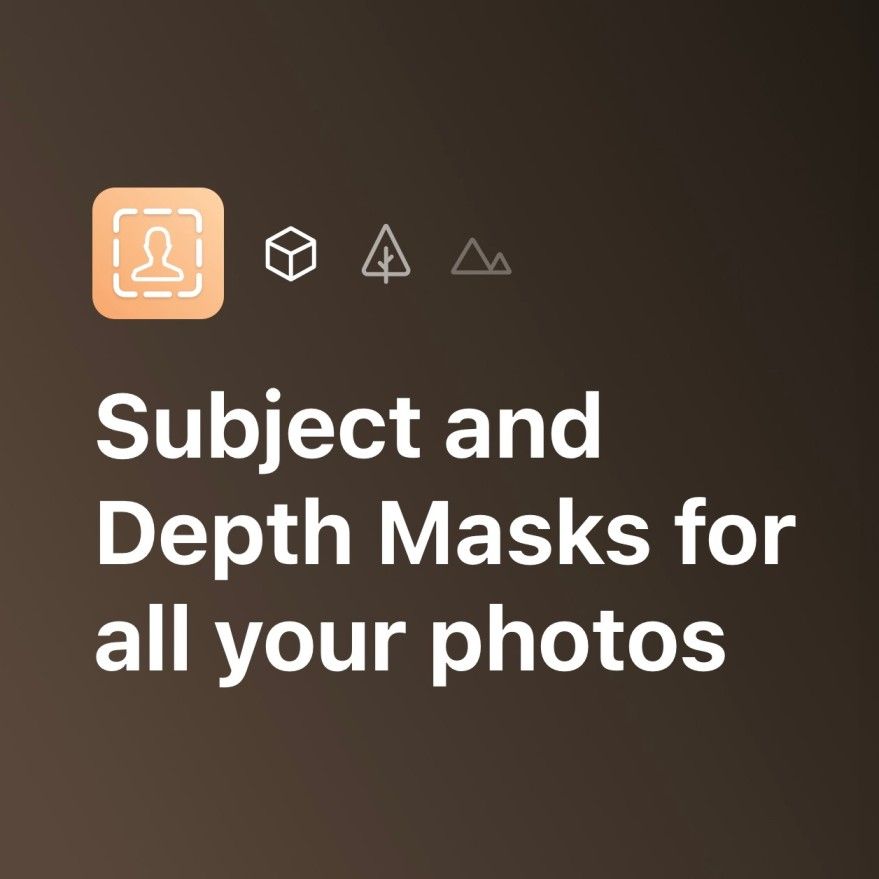
- AI-powered masks generate a 3D map of the scene in a photo, allowing you to edit the primary subject, foreground, background, and any range in-between.
- Smart Masks intelligently single out the subject, sky, hair, glasses, skin or teeth when editing Portrait and ProRAW photos.
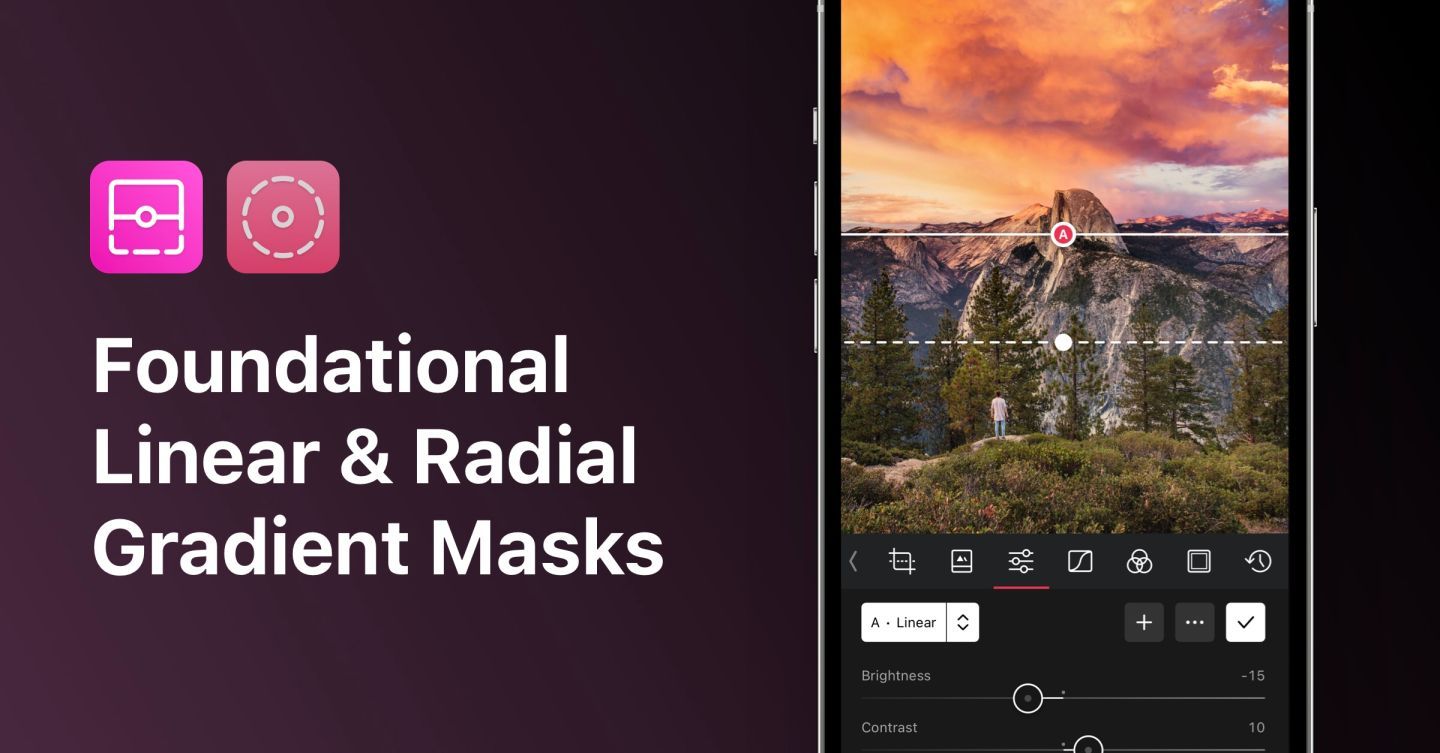
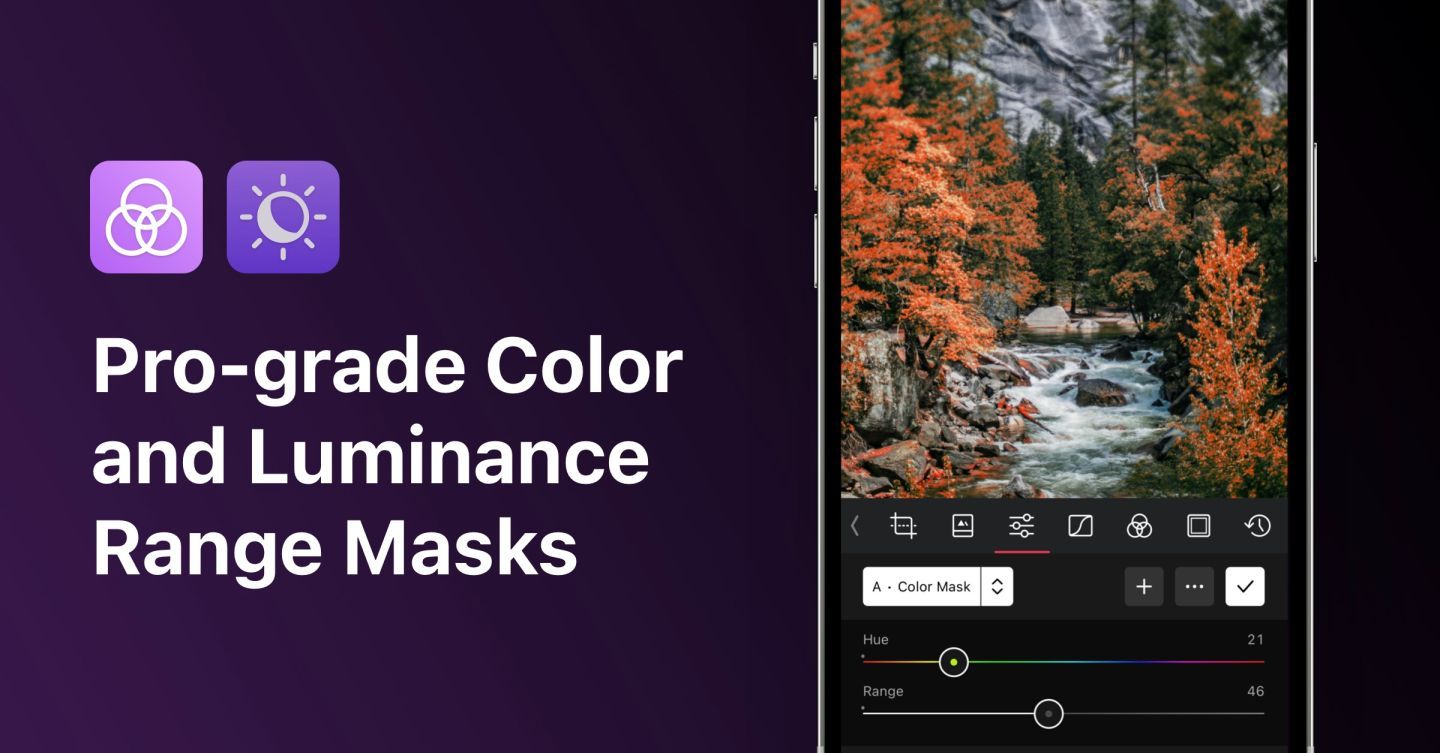
- Gradient & Range masks are the standard mask types and can be combined to create pixel-perfect selections that single-out an object or a region of your photo.
This makes it a cinch to apply a mask, the AI seems to work well, finding the different components of an image and highlighting it with a mask, which you can then edit, separately from the overall image. In other words, is there a part of the image you want to pop and stand out more, apply a mask and boost it as needed.
The basic workflow I have come up with so far is to select your mask, but don’t make any changes yet, select a filter if that’s what you are going for or any other global edits, then go back to your masks and edit away. It will be interesting to see Darkroom’s guidance on how to best use masks, which sounds like it is forthcoming but there is some trial and error of sorts, to see what mask is the most appropriate for a given subject, I’m still getting to grips with all the different options!
A brush option, so you can paint a mask or adjust an existing mask would be particularly useful to go along with this, it’s already been requested and you can vote on it here.
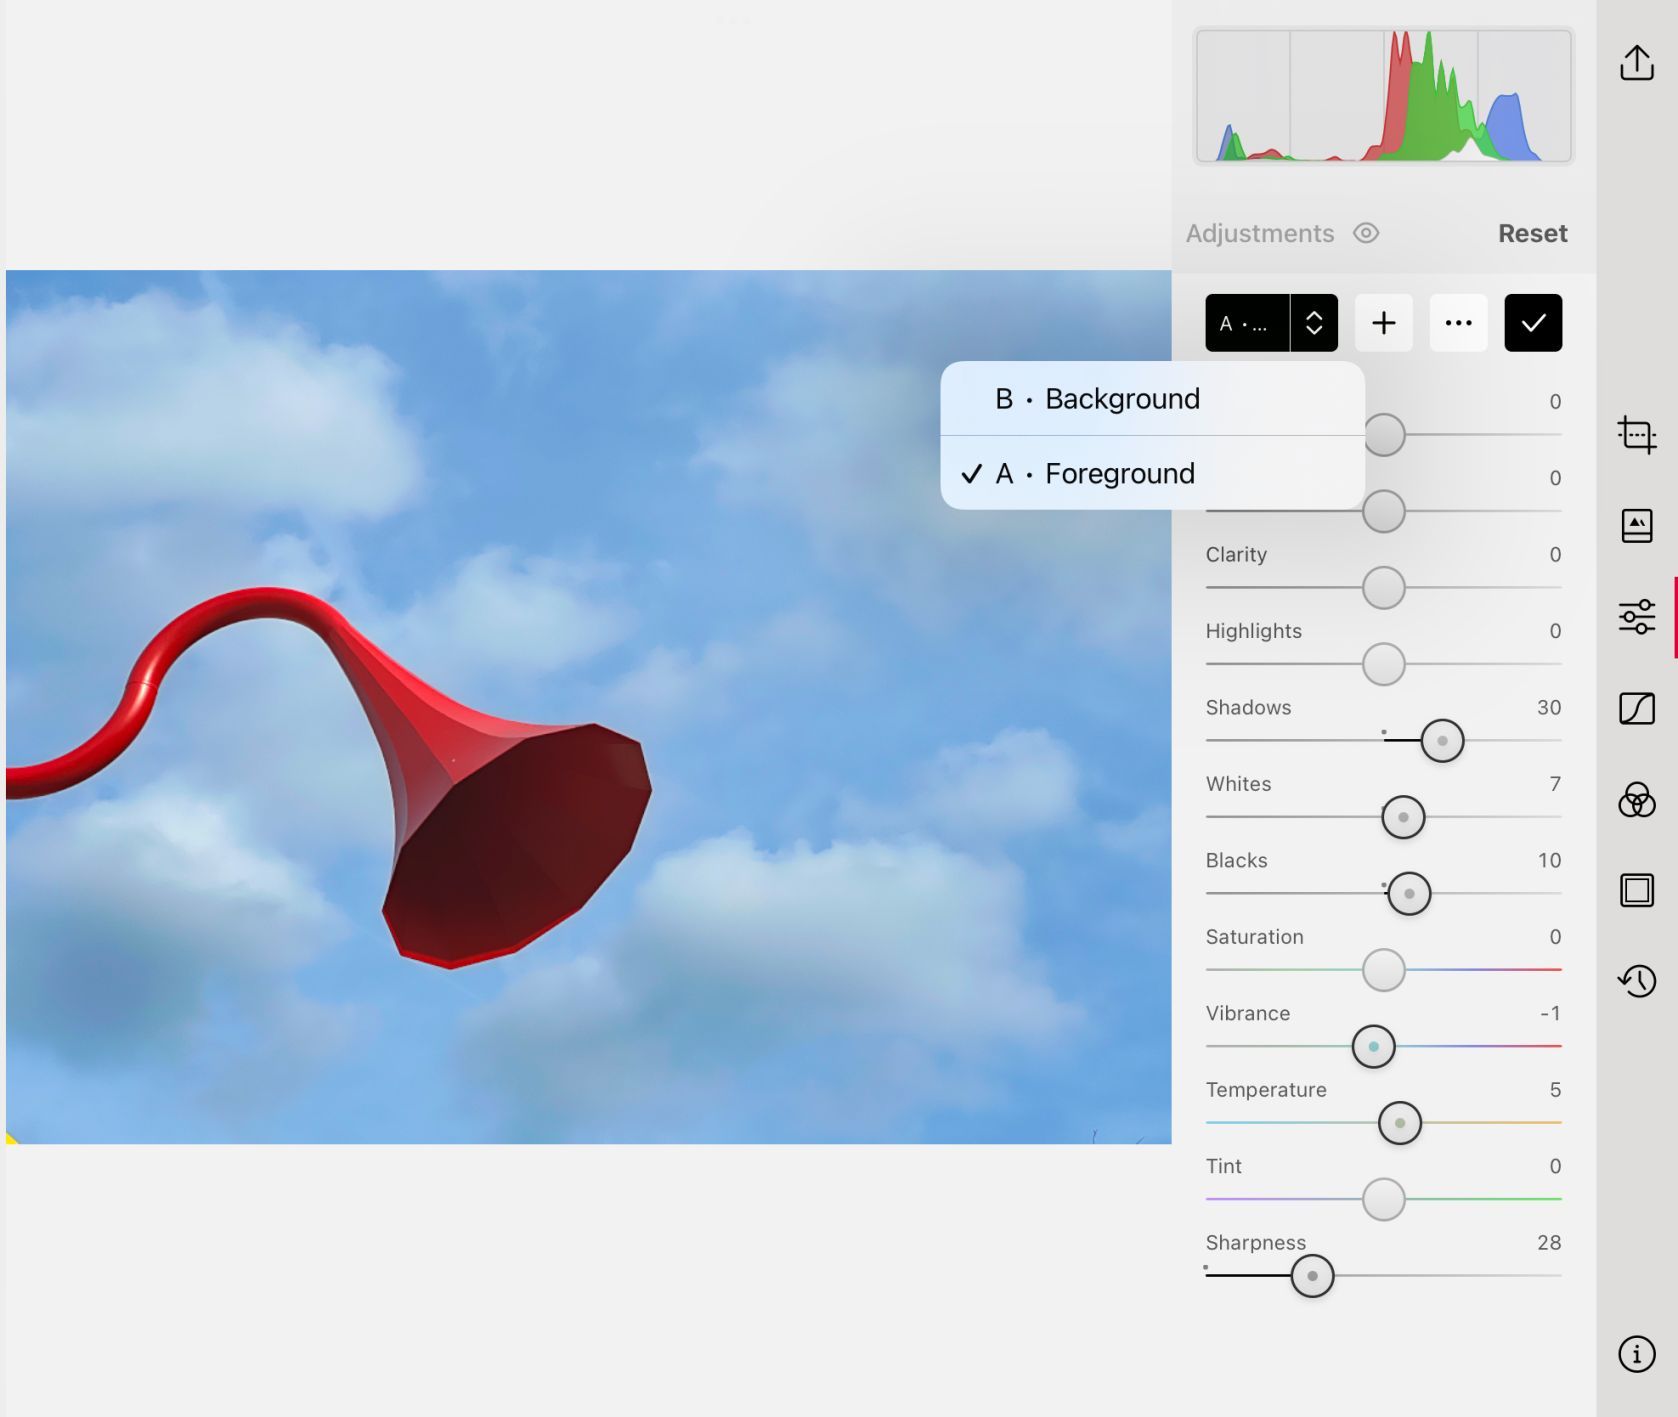
So what does it actually look like, here I have applied two masks, to the background and foreground, with the AI perfectly selecting the areas I wanted, admittedly, this will be one of the easier images to apply masks. I wanted to bring out more details in the sculpture and boost the sky, in the original image, the colours were pretty flat. Like any adjustments, it's best not to go overcook the edits.
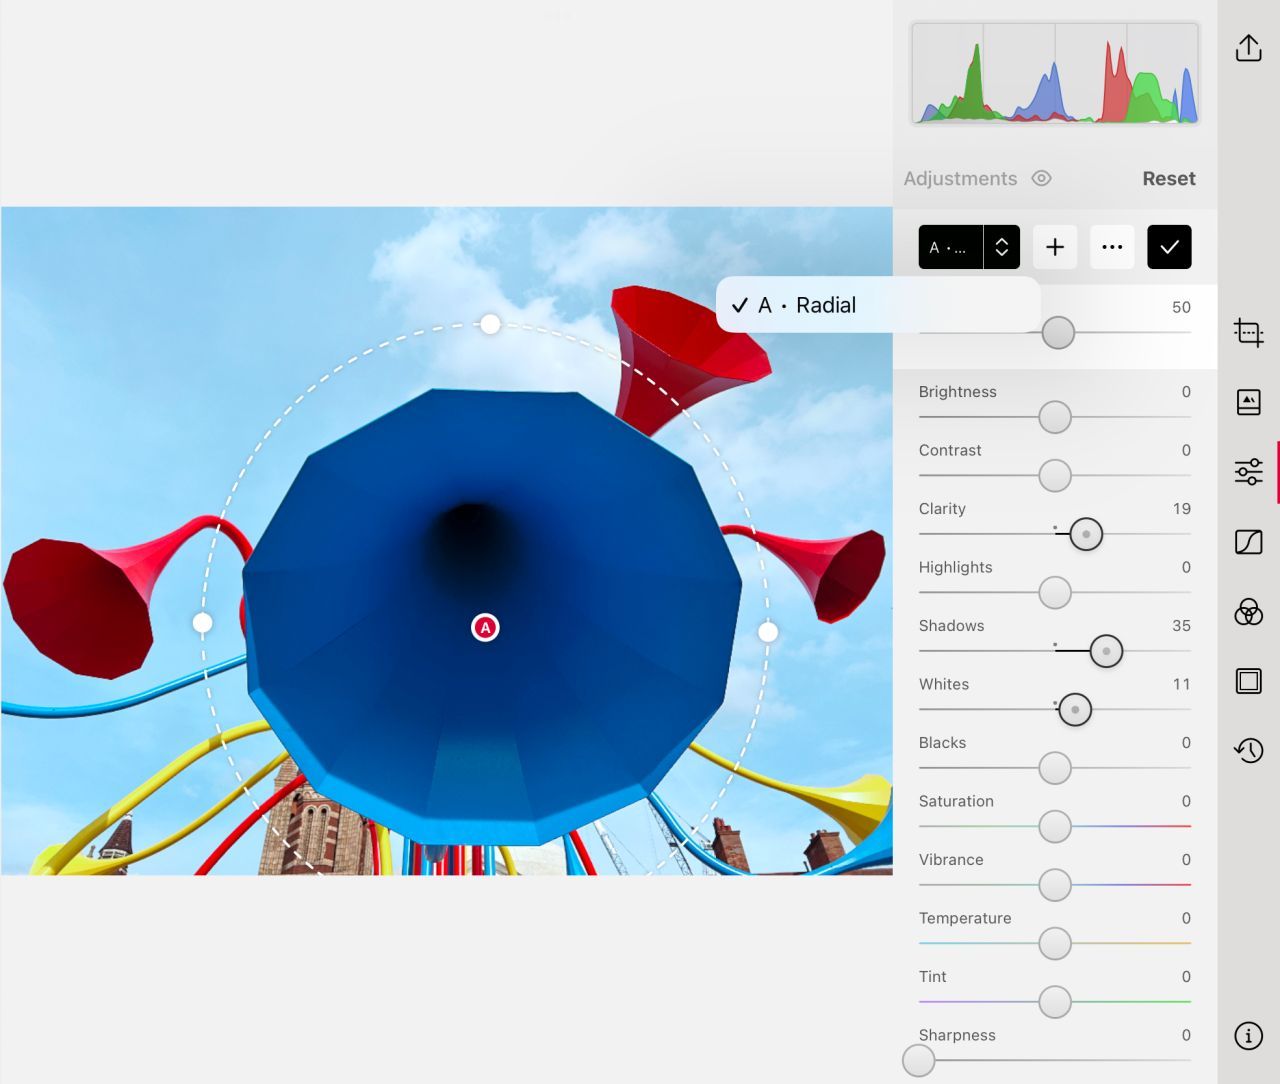
This time I applied a radial mask, just to bring out the central part of the sculpture a bit more. I applied a filter first, P100, which brought out the sky and a nice contrast with the primary colours of the sculpture.
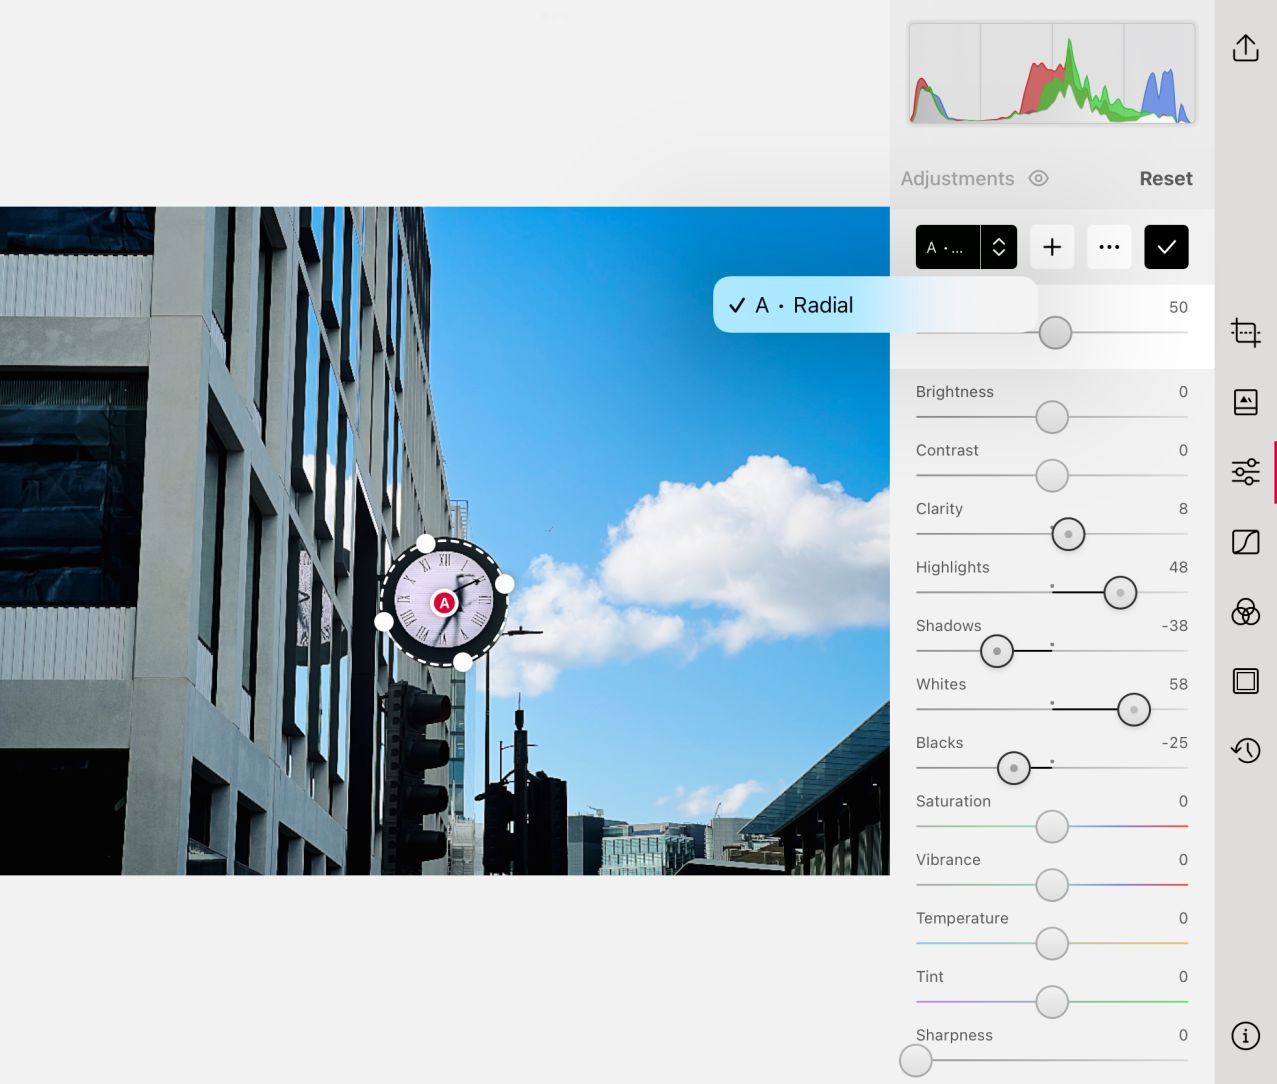
One more, another radial mask, after first applying a filter, this time A330. The mask brings out the clock more, it may not be apparent but there is a person in the clock, of sorts and that's what I wanted to highlight.
Hopefully, that gives you a flavour of masks and the creative possibilities it brings. As an update goes, it's a fantastic addition, it's right up there with some of the cool stuff the likes of Pixelmator are up to, for example with their ML features. I highly recommend Darkroom, especially if you are trying out a few similar apps, give Darkroom an audition, I think you will be impressed.
Overall, I think Darkroom is getting very close to being one of the best photo editors on iOS/iPadOS. Once they have cracked cross-device edit syncing, so you can carry on editing on a different device, like from an iPhone to an iPad, as well as Retouch/Spot Removal, it's going to be even more compelling.
Thanks for reading, if you'd like more posts like this, please consider subscribing, it's free, and brings new articles straight to your inbox.
Image credit for the feature image and other promotional images - Darkroom.