Darkroom is one of the best photo editors on iPhone/iPad and a couple of new features have only made it better, community presets and improved highlight and shadow recovery. Let's dig in and find out more about these new features.
Firstly, Darkroom is free to try but some of the more advanced premium features come under a Darkroom+ membership, like masks, which is when I ended up buying the app when this feature was introduced back in April, plus monthly or annual subscriptions are also available.
Darkroom community presets
Filters or presets as we call them here are a quick way to give your photos pizzazz and make them stand out more, make the colours richer or add some drama to the image.
Darkroom comes with a free pack of presets and with Darkroom+ you get several premium preset packs, while these are great, what if your want a more personalised look and feel, you can create your own custom preset but up until now there hasn't been an easy way to share the preset, but this has all changed with community presets.
Going back a step, a preset is just a series of adjustments made in the Darkroom app, that could include exposure, contrast, curves and colour. All these changes, which tonally give the photo a different feel can then be saved as a custom preset, which appears under its own category "My Presets".
 Darkroom Team
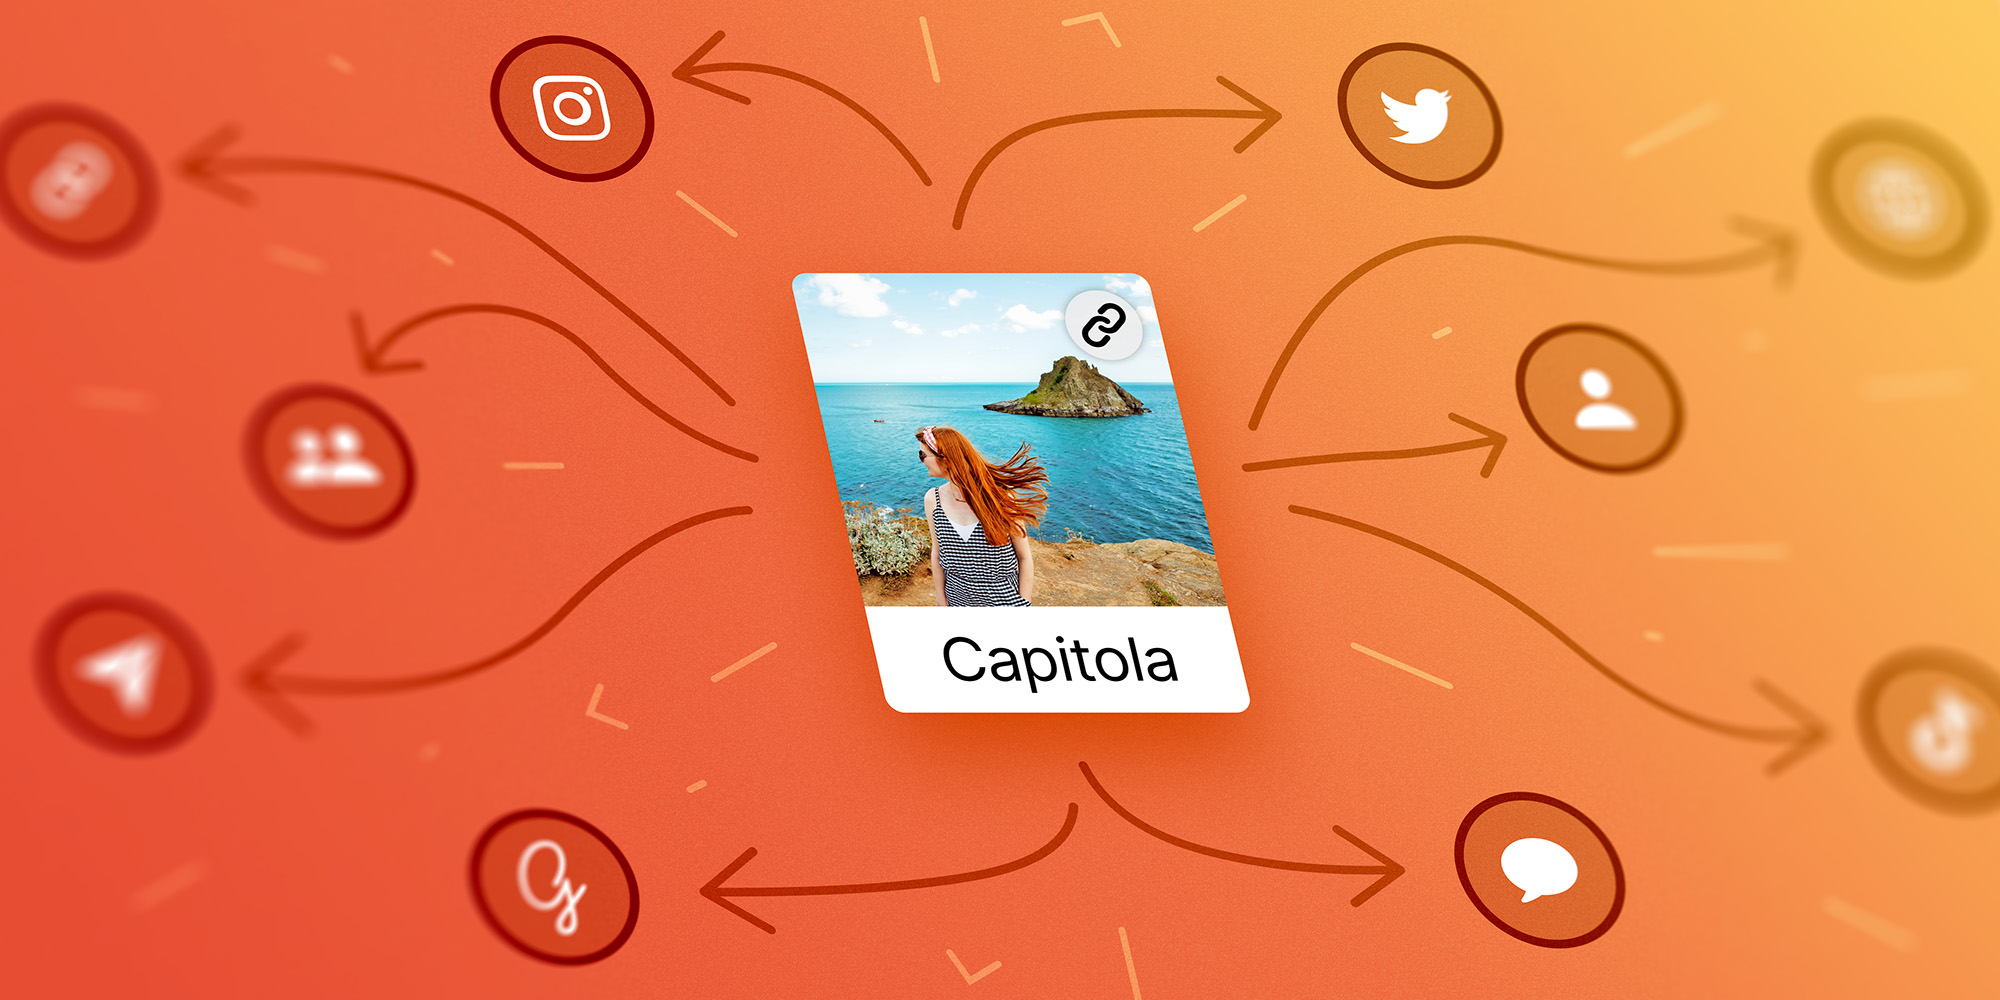
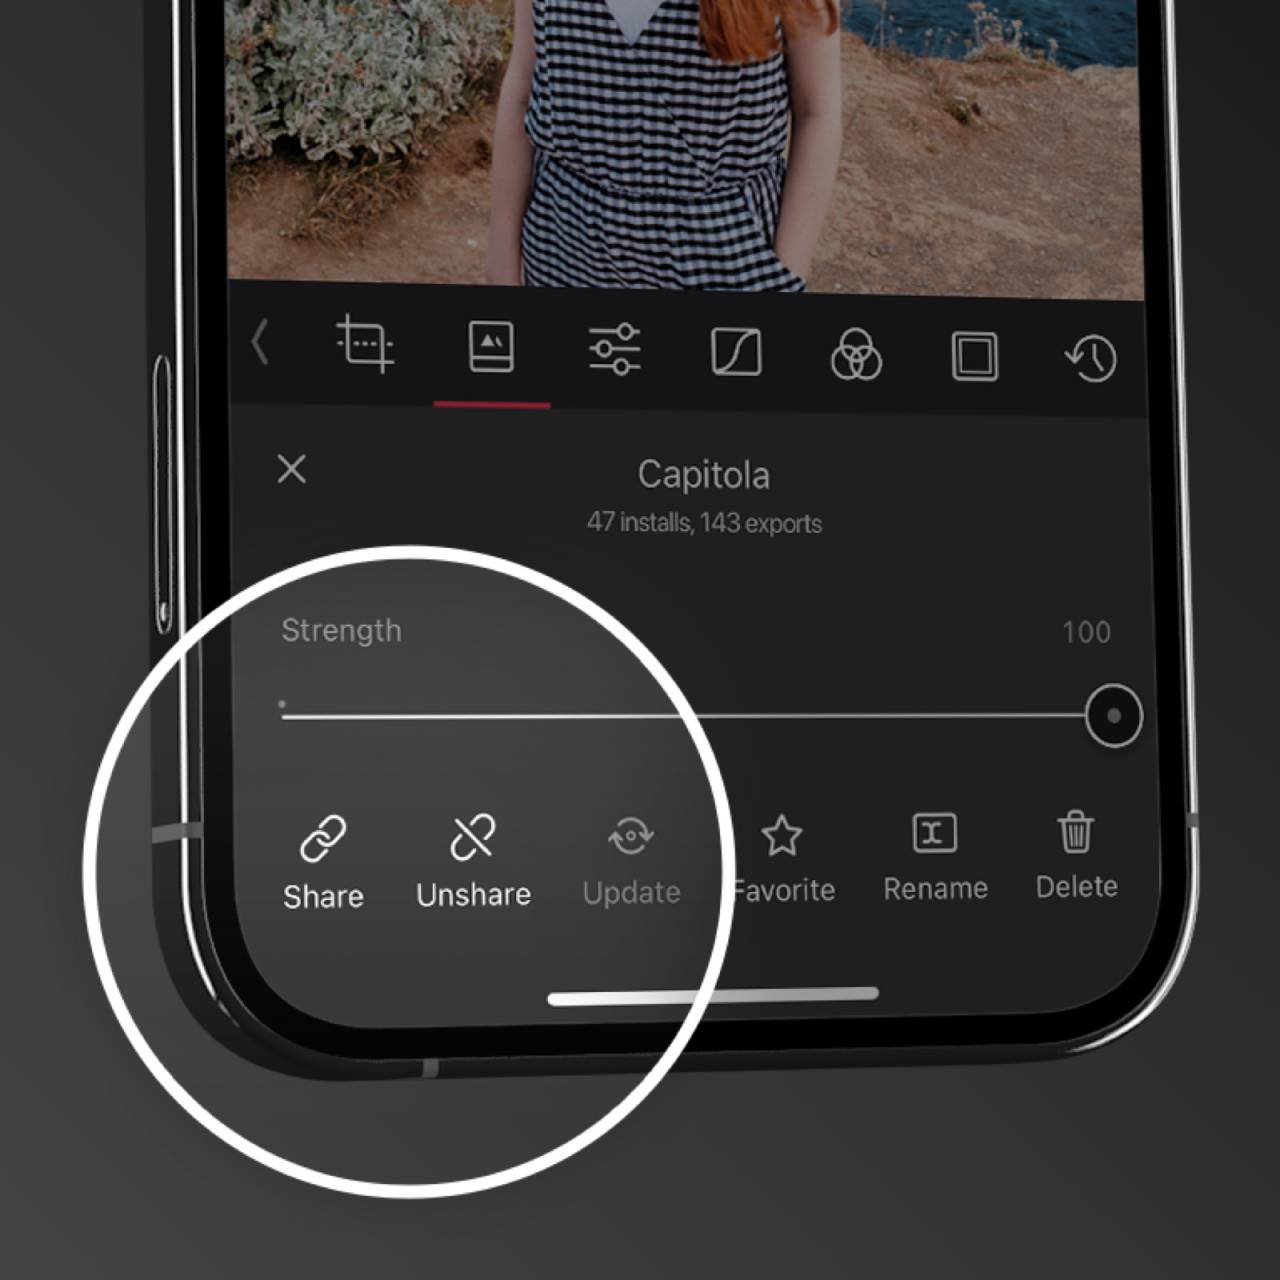
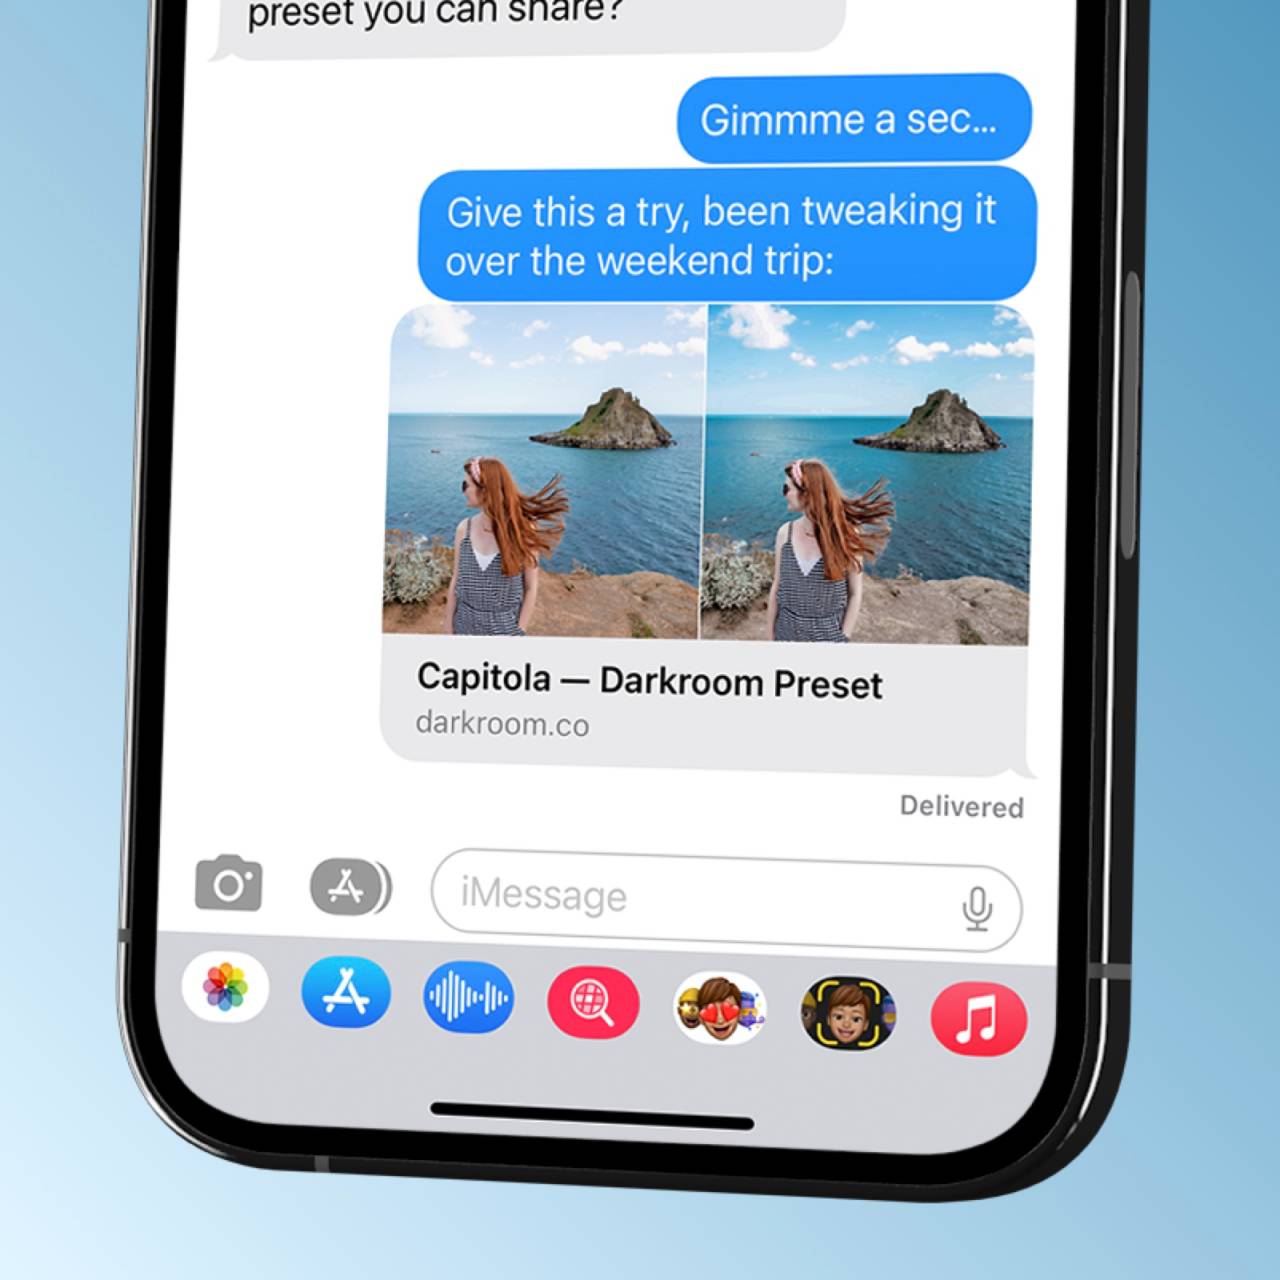
You can then share this preset at a tap after first giving it a name, which will create a link, which you can email, message or post on social media. When a user taps this link they get a preview of the preset on four sample photos, with some stats, how many installs and how many exports have been performed with this preset. Once installed, the preset appears under the Community category.
There is a catch, however:
Creating and sharing presets is free, regardless whether or not the presets use premium Darkroom+ editing features.
Installing presets and trying them out is also free, but if the installed preset uses premium Darkroom+ features, you have to subscribe to export images using it.
So while community presets are free to try, exporting images, depending on what was used to make the preset such as curves or colour adjustments, will mean you won't be able to save the image without Darkroom+, which is fair enough but worth bearing in mind.
Darkroom community presets are well-implemented, a user-friendly feature, which will be improved when syncing is introduced sometime next year, this means your presets will then sync between the iPhone, iPad and Mac.
Even if you have no interest in creating your own presets, it means lots of extra presets are available to you. There isn't one place you can find all of them yet but Darkroom have started to highlight some of them:
Darkroom Team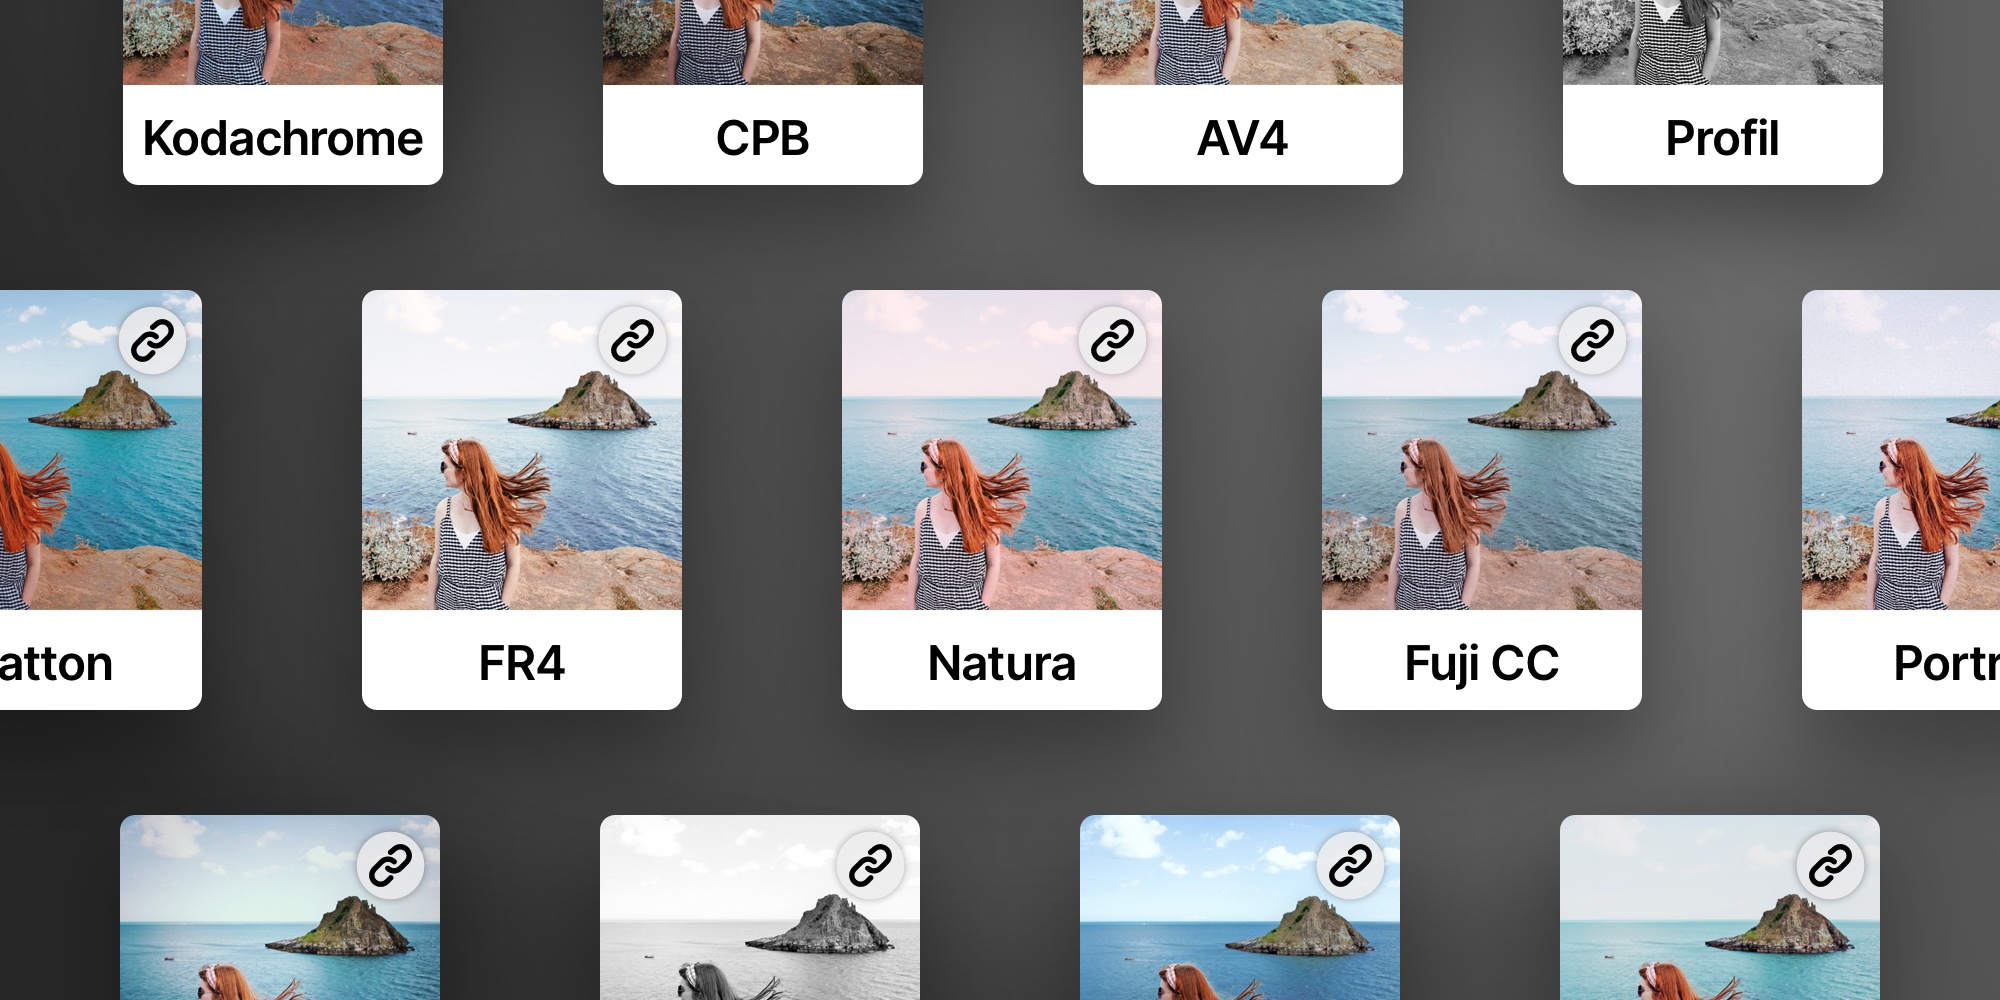
My own Black and White preset made the cut on the above list, which is available here:
Darkroom Team
I created another preset which I have been enjoying using:
Examples of the two Darkroom app presets I shared above! pic.twitter.com/vfCeHQqMAD
— MyPhotoYear (@MyPhotoYear) October 26, 2022
Finally, Darkroom shared a video on how to make your own preset, which is what I followed, when making mine. The preset demoed in the video is called Fall 22 and this is what I used with the feature image at the top of this post.
Improved highlight and shadow recovery
This is an important feature but it won't necessarily be immediately obvious unless you edit photos significantly and it especially helps if you shoot RAW photos. At its simplest, you can now get more details back, that may have been lost in a photo with completely rebuilt controls for adjusting exposure, whites, highlights, shadows, and blacks.
Darkroom Team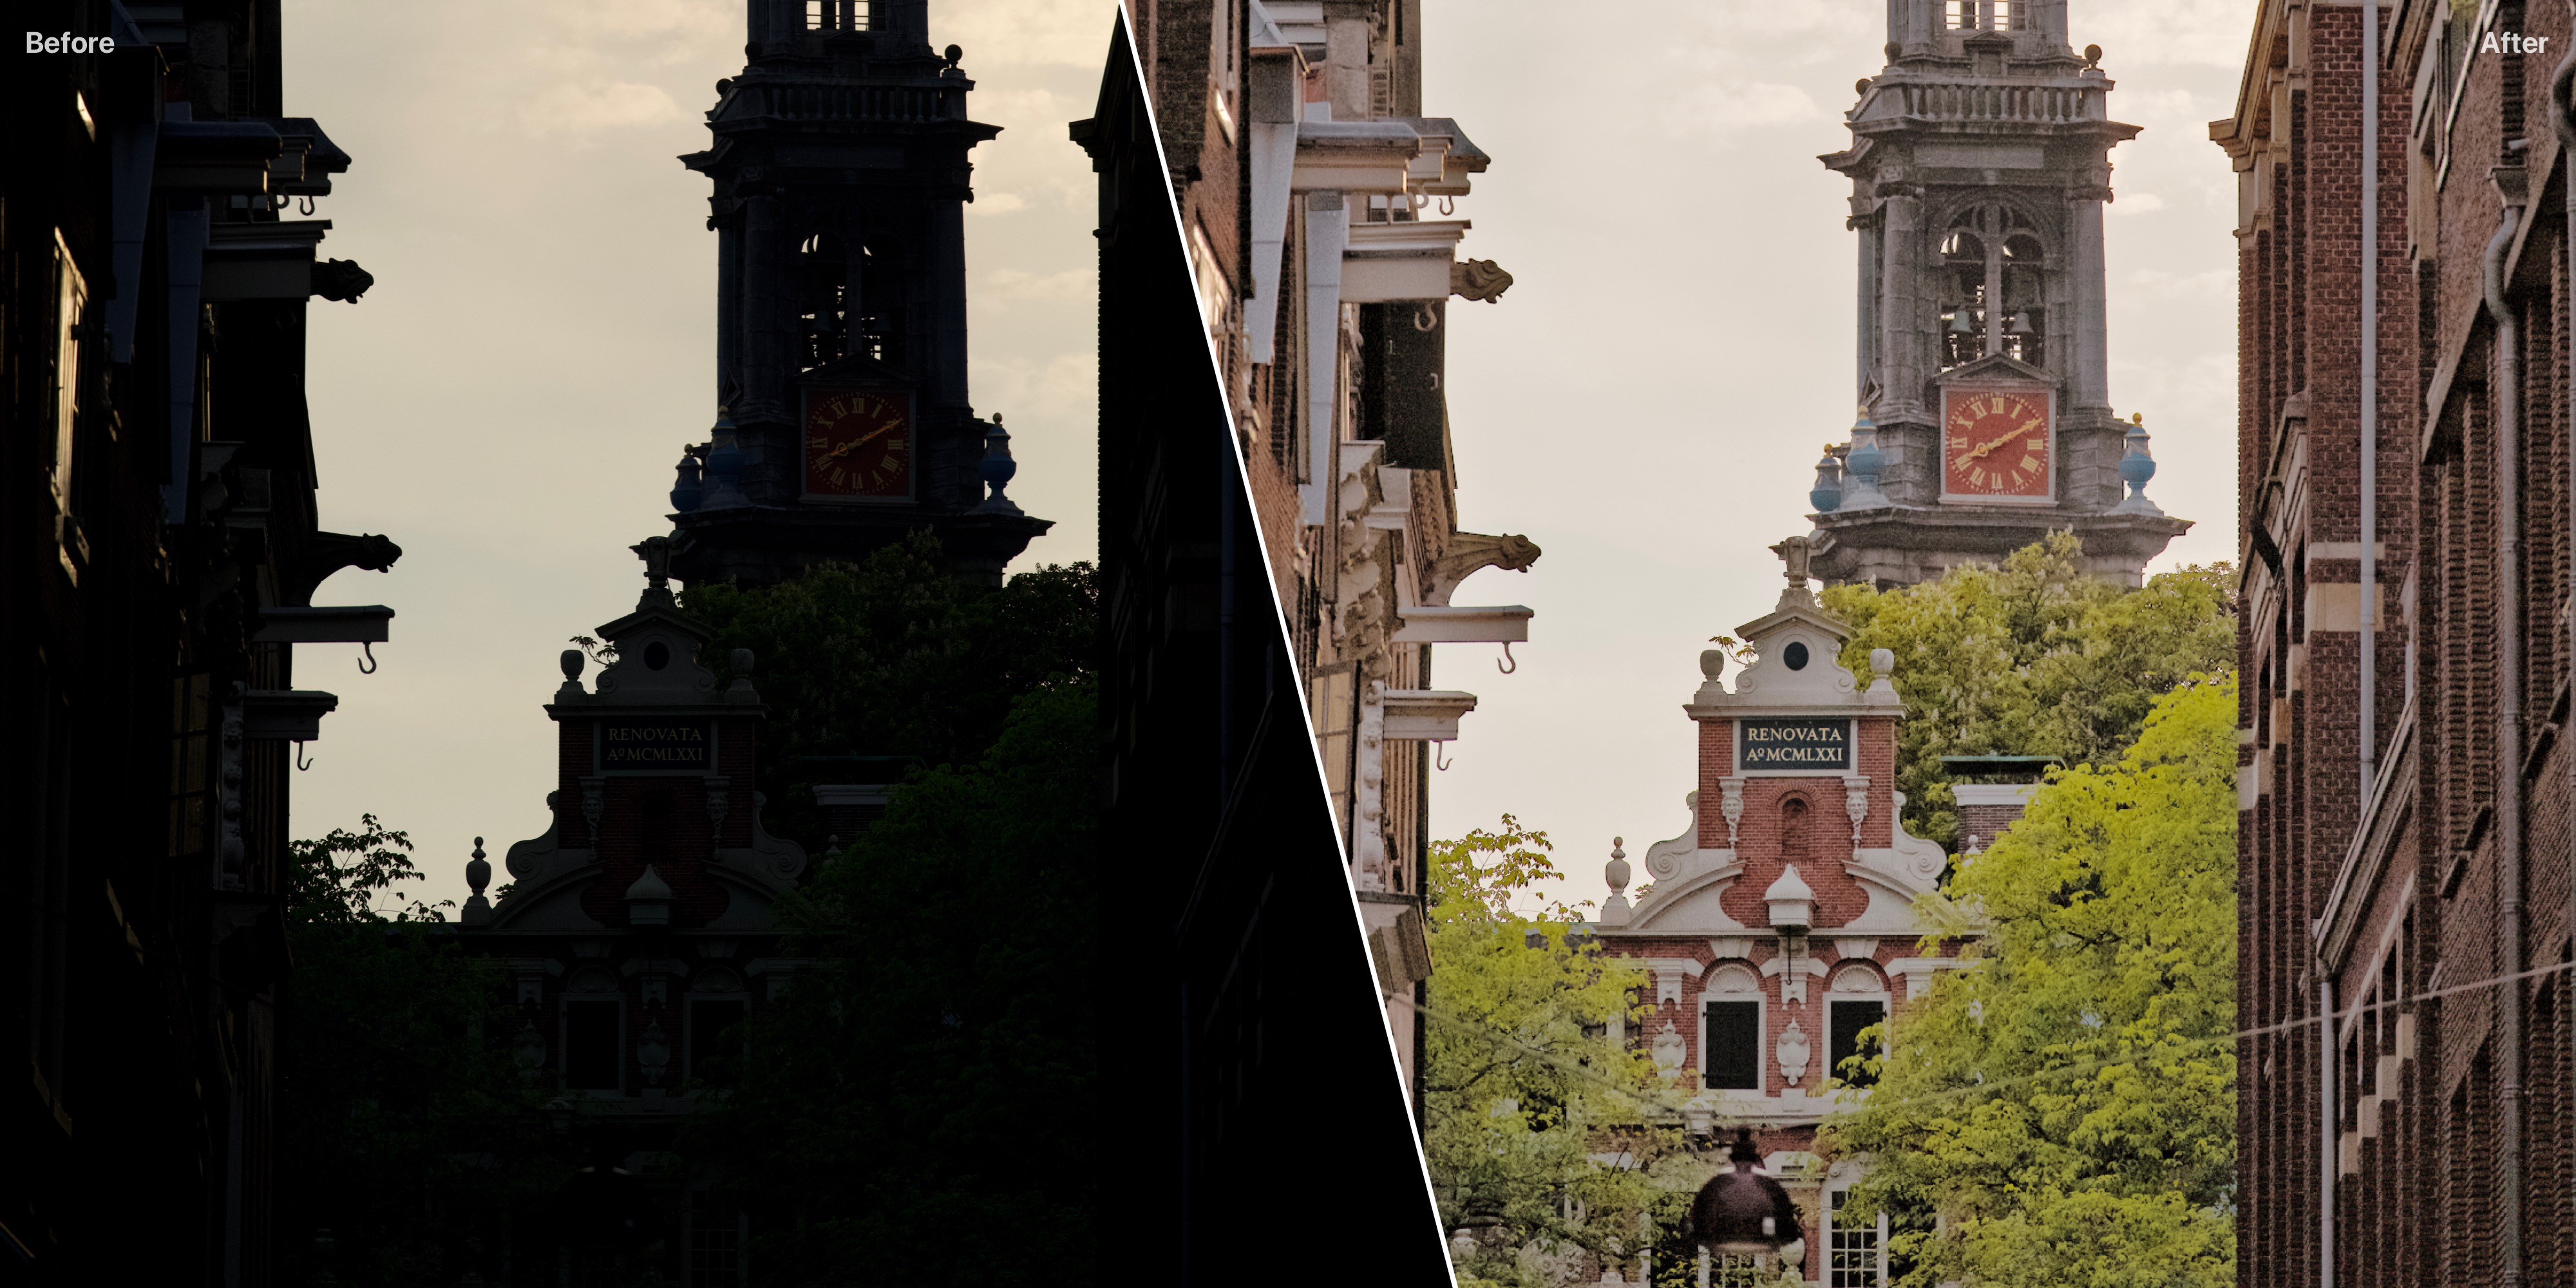
This goes back to when the photo was taken and can depend on the lighting in the scene, the contrast, and what the camera is focusing on, you may get an unbalanced photo, for example where the sky is blown out, as a white splotch, rather than something more textured. Sometimes you intentionally underexpose a photo, as you can bring out the highlights and lighten the shadows, this is when these improved Darkroom controls are significant.
The particulars are explained here in this video but to summarise, this has been a major undertaking and makes Darkroom even more competitive with other apps and programs.
To wrap up, Darkroom has done amazing work this year, masks, community presets and state-of-the-art highlight and shadow recovery, along with everything else, are great additions. Darkroom is my go-to photo editor but it still needs a few features to be a complete package, synching is probably the biggest one, so you can resume editing from any device, also bugs do pop up more than I would like but considering what a small team is behind the app, overall the progress has been stellar.
Thanks for reading! I didn't send this post out to subscribers, as I think I can do better and send out a newsletter instead, which I'd like to do in the next week, with a Darkroom special edition, hopefully arriving in your inbox soon enough. If you'd like to support the site, please consider joining, as it helps motivate me to write more content, thanks again.